How to reset wells camera to factory settings?
Leave a message
Hey there! As a supplier of Wells cameras, I often get asked about how to reset these cameras to their factory settings. It's a pretty common issue, whether you're looking to troubleshoot some problems or just want to start fresh. In this blog post, I'll walk you through the step - by - step process of resetting a Wells camera.
Why Reset Your Wells Camera?
Before we dive into the how - to, let's talk about why you might want to reset your camera. Sometimes, your camera might start acting up. Maybe the picture quality has gone down, or it's not connecting to your device properly. Resetting it to the factory settings can wipe out any glitches or incorrect settings that might be causing these issues. It's like giving your camera a clean slate.
Types of Wells Cameras
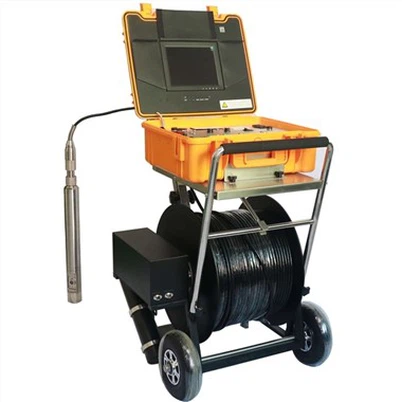
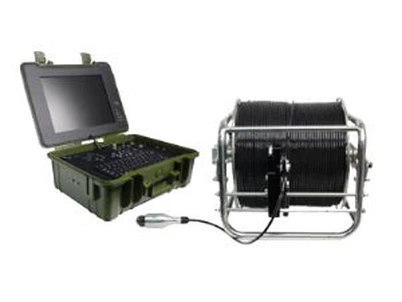
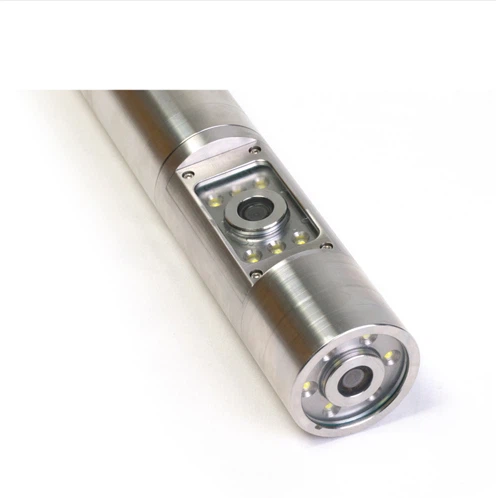
We offer a range of Wells cameras, such as the Factory Borehole Water Well Camera, Borehole Deep Water Inspection Camera, and Borehole Water Well Camera. Each type has its own features, but the general process of resetting to factory settings is quite similar.
Step 1: Gather Your Tools
First things first, you'll need to gather a few tools. You won't need anything too fancy. Just a small Phillips - head screwdriver and a paperclip. The screwdriver will be used to open the camera case if necessary, and the paperclip will help you access the reset button.
Step 2: Power Off the Camera
Make sure your camera is completely powered off. This is important because resetting the camera while it's on can cause all sorts of problems. You don't want to risk losing any important data or damaging the camera.

Step 3: Locate the Reset Button
The reset button on Wells cameras is usually located on the back or the side of the camera. It's a small, recessed button that you might need to use the paperclip to press. Some cameras have a cover over the reset button. If yours does, use the screwdriver to remove the cover gently.
Step 4: Press and Hold the Reset Button
Once you've located the reset button, use the paperclip to press and hold it. You'll need to hold it for about 10 - 15 seconds. You'll notice that the camera's indicator lights might flash or change during this time. That's normal. It means the reset process has started.
Step 5: Release the Button and Power On the Camera
After holding the button for the specified time, release it. Then, power on your camera. You'll see that the camera will start up as if it's brand new. All the settings will be back to their original state.
Step 6: Re - configure Your Camera
Now that your camera is reset, you'll need to re - configure it. This includes setting up the date and time, connecting to your Wi - Fi network (if applicable), and adjusting the picture settings according to your preferences.
Troubleshooting Tips
If, after following these steps, your camera still isn't working properly, don't worry. Here are a few tips:
- Check the Battery: Make sure the battery is fully charged. A low - battery can sometimes cause problems during the reset process.
- Check the Connections: If your camera is connected to other devices, such as a monitor or a computer, check the connections. Loose connections can lead to issues.
- Contact Support: If you're still having issues, you can reach out to our support team. We're always here to help you out.
Conclusion
Resetting your Wells camera to factory settings is a simple process that can help solve a lot of common problems. Whether you have a Factory Borehole Water Well Camera, Borehole Deep Water Inspection Camera, or Borehole Water Well Camera, the steps are pretty much the same.
If you're in the market for a new Wells camera or need to replace an old one, we're here to assist you. Our cameras are known for their high - quality performance and durability. Contact us for procurement discussions, and we'll work with you to find the best camera solution for your needs.
References
- Wells Camera User Manual
- Internal Technical Documentation from Wells Camera Manufacturer