How to adjust the contrast on wells camera?
Leave a message
Hey there! As a supplier of Wells cameras, I often get asked about how to adjust the contrast on these amazing devices. Well, you've come to the right place. In this blog, I'll walk you through the steps to adjust the contrast on Wells cameras, and also share some tips and tricks to get the best results.
First off, let's understand why contrast adjustment is so important. Contrast refers to the difference between the lightest and darkest parts of an image. A good contrast can make your images and videos look more vibrant, detailed, and professional. Whether you're using a Borehole Inspection Camera for industrial inspections or a Factory Borehole Water Well Camera for water well monitoring, proper contrast adjustment can enhance the visibility of the details you're trying to capture.
Step 1: Know Your Camera
The first step in adjusting the contrast on your Wells camera is to familiarize yourself with its controls. Different models may have different ways of adjusting contrast. Some cameras have dedicated buttons or menu options for contrast adjustment, while others may require you to access the settings through a connected device, like a smartphone or a computer.
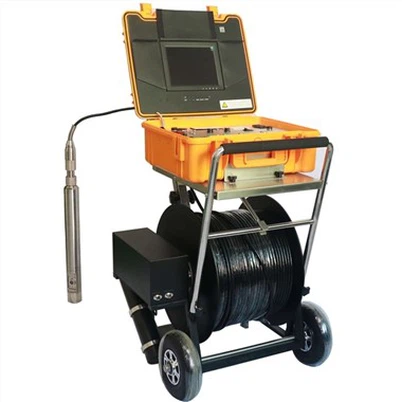
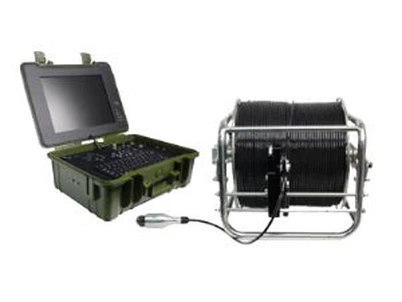
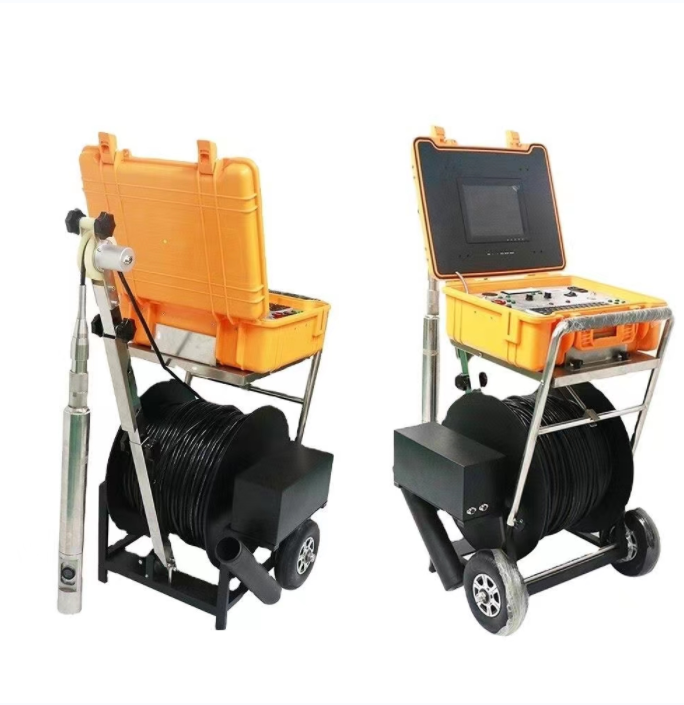
If you're using a Flexible Cable Industrial Borehole Camera, it might come with a control panel that has a contrast adjustment knob or button. Take a few minutes to read the user manual that came with your camera. It'll give you a clear idea of where to find the contrast adjustment feature and how to use it.

Step 2: Set Up Your Shooting Environment
Before you start adjusting the contrast, it's a good idea to set up your shooting environment properly. Make sure there's enough light, but not too much that it causes overexposure. If you're using the camera in a borehole or a dark environment, you may need to use additional lighting sources.
For example, if you're inspecting a borehole, you can use LED lights attached to the camera or the cable. This will help illuminate the area and make it easier to see the details. Once you're satisfied with the lighting, you can start adjusting the contrast to make the most of the available light.
Step 3: Access the Contrast Adjustment Menu
Once you've set up your camera and shooting environment, it's time to access the contrast adjustment menu. If your camera has a built-in display, you can usually find the settings menu by pressing the "Menu" button. Look for options like "Contrast," "Image Settings," or something similar.
If you're using a camera that connects to a smartphone or a computer, you'll need to open the corresponding app or software. In the app, look for the settings section where you can adjust the contrast. It might be labeled as "Contrast," "Picture Settings," or something along those lines.
Step 4: Make Small Adjustments
When you first start adjusting the contrast, it's best to make small changes. This way, you can see the impact of each adjustment on the image or video. If you increase the contrast too much, the image may become too harsh, with blown-out highlights and lost details in the shadows. On the other hand, if you decrease the contrast too much, the image may look flat and dull.
Start by increasing the contrast slightly and observe how the image changes. Look for details that were previously hard to see. If the image looks better, you can continue to make small adjustments until you're satisfied with the result. Remember, it's all about finding the right balance.
Step 5: Check the Preview
As you make adjustments to the contrast, keep an eye on the preview. Most cameras and apps provide a real-time preview of the image or video. This allows you to see the changes immediately and make further adjustments if needed.
If you're not happy with the preview, don't be afraid to go back and make more adjustments. You can also try different lighting conditions or shooting angles to see if they affect the contrast. Sometimes, a simple change in the position of the camera or the lighting can make a big difference in the final result.
Step 6: Save Your Settings
Once you're satisfied with the contrast adjustment, it's important to save your settings. This way, you won't have to go through the adjustment process every time you use the camera. In the settings menu, look for an option to save the current settings as a preset. You can give the preset a name, like "Borehole Inspection" or "Water Well Monitoring," so you can easily recall it later.
Some cameras also allow you to save multiple presets, which is great if you use the camera in different shooting environments or for different purposes. You can switch between presets with just a few clicks, making it quick and easy to get the right contrast for each situation.
Tips and Tricks
Here are some additional tips and tricks to help you get the best contrast on your Wells camera:
- Use Histograms: Many cameras and apps provide a histogram display, which shows the distribution of light and dark tones in an image. A well-balanced histogram should have a nice spread of tones from left to right, without any spikes at the edges. Use the histogram as a guide to adjust the contrast and ensure that you're not losing any details in the highlights or shadows.
- Calibrate Your Monitor: If you're adjusting the contrast on a computer or a smartphone, make sure your monitor is calibrated properly. An uncalibrated monitor can give you a false impression of the contrast in the image. You can use calibration tools or software to ensure that the colors and contrast on your monitor are accurate.
- Experiment with Different Shooting Modes: Some cameras offer different shooting modes, such as "Auto," "Manual," or "Scene Modes." Each mode may have different default contrast settings. Try using different modes to see which one gives you the best results for your specific shooting situation.
Conclusion
Adjusting the contrast on your Wells camera is an important skill that can greatly enhance the quality of your images and videos. By following the steps outlined in this blog and using the tips and tricks, you'll be able to get the best contrast for your shooting needs. Whether you're inspecting a borehole, monitoring a water well, or using the camera for any other purpose, proper contrast adjustment will help you capture clear, detailed, and professional-looking images and videos.
If you have any questions or need further assistance with contrast adjustment or any other aspect of using your Wells camera, don't hesitate to reach out. We're here to help you make the most of your camera. And if you're in the market for a new Wells camera or need to replace any parts, feel free to contact us for a quote. We offer a wide range of high-quality cameras and accessories to meet your specific requirements.
References
- Wells Camera User Manuals
- Photography and Videography Guides