
How do I use a pipe camera to assess the quality of new pipes?
Leave a message

As a provider of pipe cameras, I've witnessed firsthand the transformative impact these tools have on assessing the quality of new pipes. In this blog, I'll share insights on how to effectively use a pipe camera for this crucial task.
Understanding the Basics of Pipe Cameras
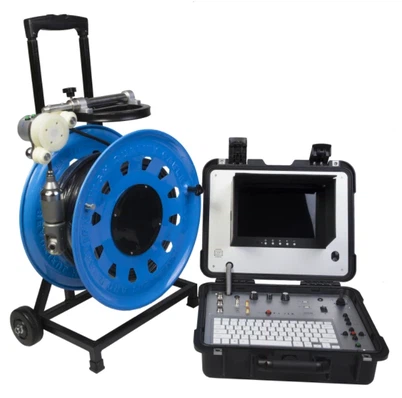
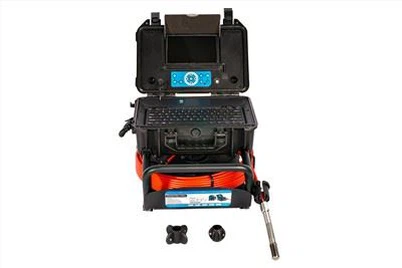
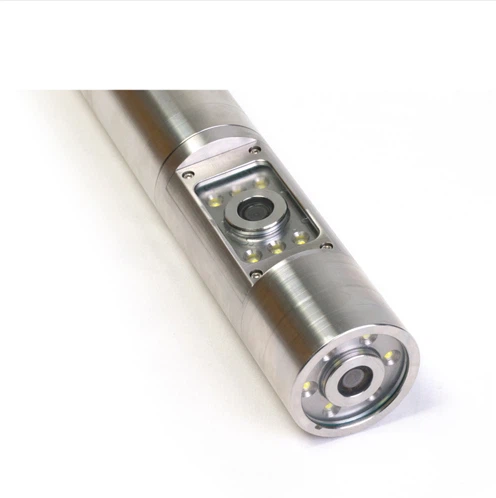
Before delving into the assessment process, it's essential to understand what a pipe camera is and how it works. A pipe camera is a specialized device equipped with a high - resolution camera attached to a flexible cable. The camera can be inserted into pipes of various sizes and materials, allowing users to visualize the interior of the pipe in real - time.
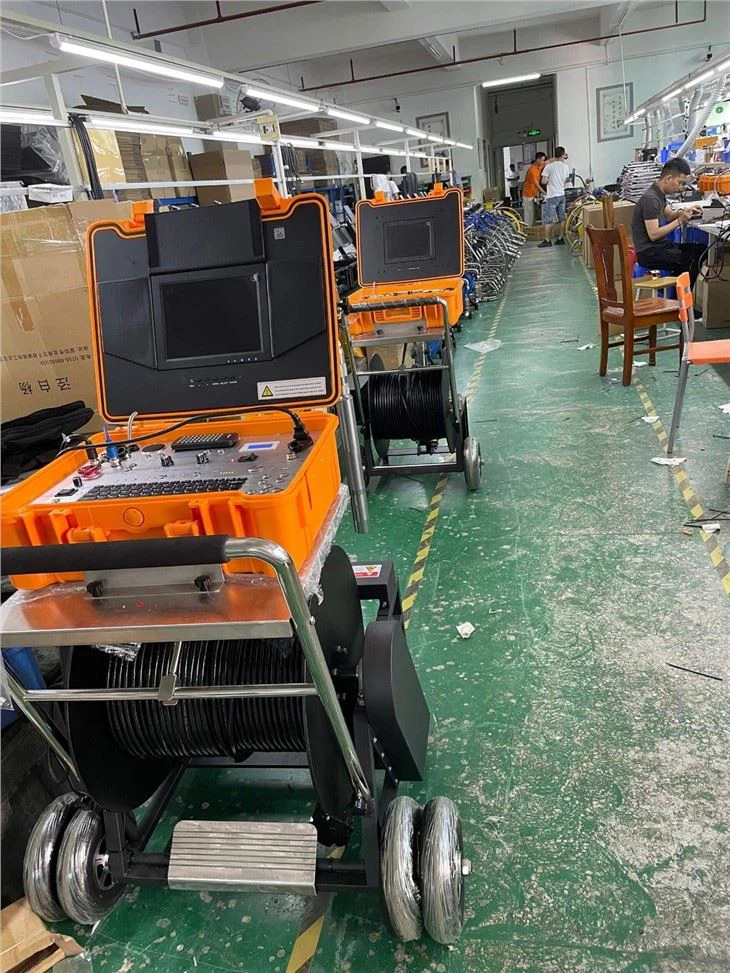
There are different types of pipe cameras available in the market, each designed for specific applications. For instance, the Factory Borehole Water Well Camera is ideal for inspecting boreholes and water wells. Its robust construction and advanced imaging capabilities make it suitable for deep - water and underground applications. The Borehole Deep Water Inspection Camera is another option, specifically engineered to withstand high - pressure environments in deep boreholes. And the Borewell Inspection Camera offers a more compact and portable solution for general pipe inspections.
Pre - assessment Preparations
1. Determine the Pipe Specifications
Before using the pipe camera, gather information about the new pipes, including their diameter, length, material (such as PVC, steel, or concrete), and the intended use of the pipes. This information will help you select the appropriate pipe camera and set up the inspection parameters correctly.
2. Inspect the Pipe Camera Equipment
Ensure that the pipe camera is in good working condition. Check the camera lens for any dirt or damage, and test the lighting system to ensure it provides sufficient illumination inside the pipe. Also, verify that the cable is intact and the control unit functions properly.
3. Plan the Inspection Route
Based on the pipe layout, plan the route for inserting the pipe camera. Identify any bends, joints, or potential obstacles in the pipe that may affect the camera's movement. This will help you anticipate challenges and ensure a smooth inspection process.
Conducting the Pipe Inspection
1. Inserting the Camera
Carefully insert the pipe camera into the pipe through an access point, such as a manhole or a cleanout. Start the camera and begin recording the footage as soon as it enters the pipe. Use the control unit to adjust the camera's position, angle, and zoom level to get a clear view of the pipe interior.
2. Visual Inspection
As the camera moves through the pipe, pay close attention to the following aspects:
- Surface Defects: Look for cracks, scratches, or abrasions on the pipe walls. These defects can weaken the pipe's structure and lead to leaks or failures over time.
- Wall Thickness: Check if the pipe walls have a consistent thickness. Uneven wall thickness may indicate manufacturing defects or problems during the installation process.
- Joint Integrity: Examine the pipe joints to ensure they are properly sealed and aligned. Loose or misaligned joints can cause leaks and compromise the overall performance of the pipe system.
- Debris and Blockages: Look for any debris, sediment, or blockages inside the pipe. These can restrict the flow of fluids or gases through the pipe and may require cleaning or maintenance.
3. Documenting the Findings
Record all the observations and findings during the inspection. Take screenshots or videos of any significant defects or issues for further analysis. Make notes about the location, size, and severity of each problem. This documentation will be valuable for generating inspection reports and communicating the results to relevant stakeholders.
Analyzing the Inspection Results
1. Reviewing the Footage
After completing the inspection, review the recorded footage in detail. Use the slow - motion and zoom functions to examine any areas of concern more closely. Compare the findings with the industry standards and the specifications of the new pipes.
2. Identifying Potential Problems
Based on the review, identify any potential problems or areas that require attention. Categorize the issues according to their severity, such as minor defects that can be easily repaired and major issues that may require pipe replacement.
3. Generating an Inspection Report
Prepare a comprehensive inspection report that includes the following information:
- Pipe Details: Specify the pipe's diameter, length, material, and installation date.
- Inspection Findings: Describe the defects, issues, and observations made during the inspection, along with their locations and severity levels.
- Recommendations: Provide recommendations for addressing the identified problems, such as repairs, maintenance, or replacement of the pipes.
- Conclusion: Summarize the overall quality of the new pipes and the implications of the inspection results.
Benefits of Using a Pipe Camera for New Pipe Assessment
1. Early Detection of Problems
By using a pipe camera, you can detect potential problems in new pipes before they become major issues. This allows for timely repairs or replacements, reducing the risk of costly downtime and damage to the surrounding infrastructure.
2. Accurate Assessment
Pipe cameras provide a clear and detailed view of the pipe interior, enabling accurate assessment of the pipe's quality. This helps in making informed decisions about the acceptance or rejection of the new pipes.
3. Non - destructive Testing
Pipe camera inspection is a non - destructive testing method, which means it does not damage the pipes during the inspection process. This is particularly important for new pipes, as it allows for repeated inspections without compromising their integrity.
4. Documentation and Compliance
The documentation generated from pipe camera inspections serves as evidence of the pipe's quality and compliance with industry standards. This can be useful for regulatory purposes and for maintaining records of the pipe system's condition.
Conclusion
Using a pipe camera to assess the quality of new pipes is a reliable and effective method. By following the steps outlined in this blog, you can ensure a thorough inspection process and obtain accurate results. As a pipe camera provider, I encourage you to take advantage of the advanced features and capabilities of our products to enhance the quality control of your pipe systems.
If you are interested in purchasing a pipe camera for your pipe assessment needs or have any questions about our products, please feel free to contact us. We are committed to providing high - quality pipe camera solutions and excellent customer service.
References
- American Society for Testing and Materials (ASTM). Standards related to pipe manufacturing and inspection.
- National Fire Protection Association (NFPA). Codes and standards for pipe systems in fire protection applications.
- International Organization for Standardization (ISO). Global standards for pipe materials and installation.