
How do I adjust the settings of a sewer camera?
Leave a message

As a supplier of sewer cameras, I often get asked about how to adjust the settings of these nifty devices. It can seem a bit daunting at first, but once you get the hang of it, it's a piece of cake. In this blog post, I'll walk you through the process step by step, so you can get the most out of your sewer camera.

Understanding Your Sewer Camera
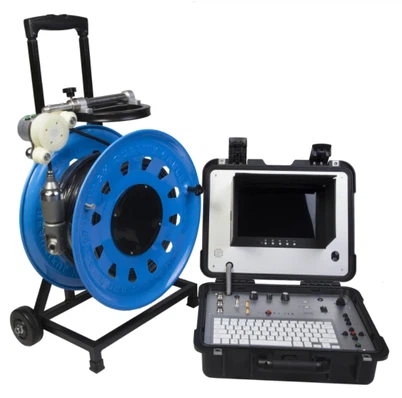
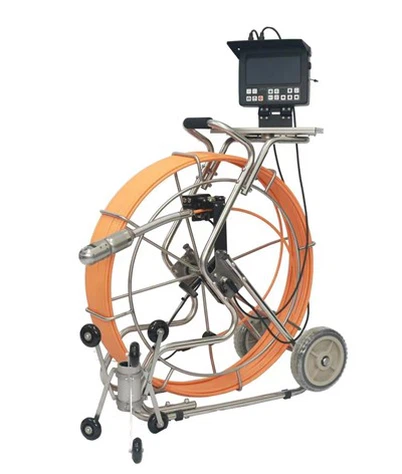
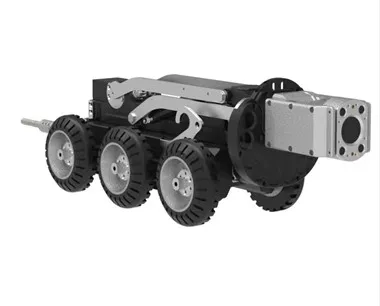
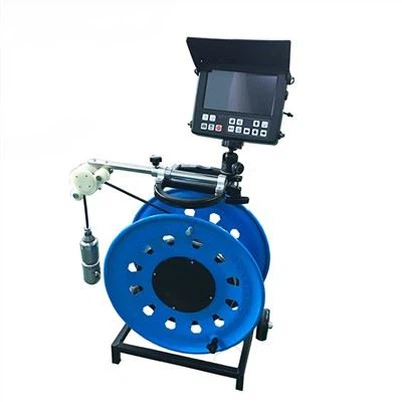
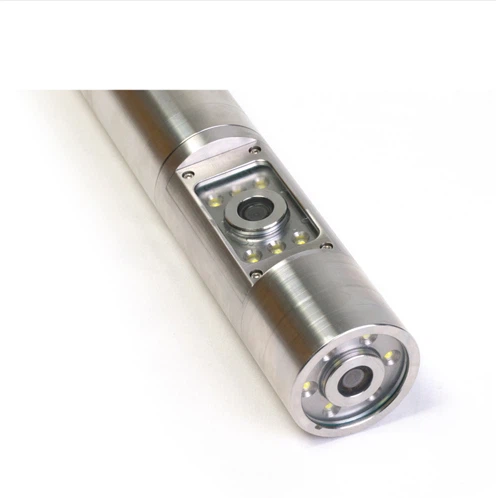
Before you start adjusting the settings, it's important to understand the basic components of your sewer camera. Most sewer cameras consist of a camera head, a cable, and a control unit. The camera head is the part that goes into the sewer line, while the cable connects the camera head to the control unit. The control unit is where you'll make all the adjustments to the camera settings.
Powering On the Camera
The first step is to power on the camera. Make sure the camera is properly connected to the control unit and that the power switch is turned on. You should see a display on the control unit indicating that the camera is powered on.
Adjusting the Brightness
One of the most important settings to adjust is the brightness. The brightness of the camera can have a big impact on the quality of the images and videos you capture. If the image is too dark, you won't be able to see the details clearly. On the other hand, if the image is too bright, it can be washed out and difficult to make out.
Most sewer cameras have a brightness adjustment button on the control unit. You can use this button to increase or decrease the brightness until you get the desired level. It's a good idea to test the brightness in different areas of the sewer line to make sure you're getting a clear image.
Focusing the Camera
Another important setting is the focus. The focus of the camera determines how sharp the image is. If the camera is out of focus, the image will appear blurry.
To focus the camera, look for a focus adjustment button on the control unit. Some cameras have an auto-focus feature, which will automatically adjust the focus for you. If your camera doesn't have auto-focus, you'll need to manually adjust the focus until the image is sharp.
Changing the Color Mode
Some sewer cameras allow you to change the color mode. You can choose between color and black and white. Color mode is great for getting a more realistic view of the sewer line, while black and white mode can sometimes make it easier to see certain details.
To change the color mode, look for a color mode button on the control unit. Press the button to cycle through the different color mode options.
Adjusting the Zoom
If you need to get a closer look at something in the sewer line, you can use the zoom function. Most sewer cameras have a zoom button on the control unit. You can use this button to zoom in or out on the image.
Keep in mind that zooming in too much can sometimes make the image appear pixelated or blurry. It's a good idea to use the zoom function sparingly and only when necessary.
Recording and Saving Images and Videos
Once you've adjusted the settings to your liking, you can start recording images and videos. Most sewer cameras have a recording button on the control unit. Press the button to start recording. You can also take a still image by pressing the snapshot button.
The recorded images and videos are usually saved to a memory card in the control unit. You can later transfer the files to your computer for further analysis or sharing.
Troubleshooting Common Issues
Sometimes, you may encounter some issues with your sewer camera. Here are some common issues and how to troubleshoot them:
- No image on the display: Check to make sure the camera is properly connected to the control unit and that the power is on. If the problem persists, there may be an issue with the camera head or the cable.
- Blurry image: Make sure the camera is in focus. You may also need to adjust the brightness or zoom settings.
- Poor image quality: Check the lighting conditions in the sewer line. If it's too dark, you may need to increase the brightness. You can also try changing the color mode.
- Recording issues: Make sure the memory card is properly inserted and has enough space. If the problem persists, there may be an issue with the recording function.
Conclusion
Adjusting the settings of a sewer camera is not as difficult as it may seem. By following the steps outlined in this blog post, you should be able to get the most out of your sewer camera. Remember to test the settings in different areas of the sewer line to make sure you're getting a clear and accurate view.
If you have any questions or need further assistance, feel free to reach out to us. We're here to help you make the most of your sewer camera.
In addition to sewer cameras, we also offer a variety of other inspection cameras, such as the Factory Borehole Water Well Camera, Borehole Deep Water Inspection Camera, and Flexible Cable Industrial Borehole Camera. These cameras are perfect for inspecting boreholes, wells, and other hard-to-reach areas.
If you're interested in purchasing a sewer camera or any of our other inspection cameras, please don't hesitate to contact us. We'll be happy to discuss your needs and help you find the right camera for your application.
References
- Manufacturer's manual of the sewer camera.
- Industry best practices for sewer camera inspections.