
How do I test a drain camera?
Leave a message

Testing a drain camera is an essential step to ensure its proper functionality and reliability, especially when you're a supplier like me. I've been in the business of providing drain cameras for a while, and I know how crucial it is to make sure these devices work well before they reach our customers.


Pre - test Preparations
Before we start testing the drain camera, we need to gather a few things. First off, we need a suitable drain or pipeline for testing. It should be a real - world scenario as much as possible, so we can accurately assess how the camera performs. We also need to have all the necessary accessories ready, like the power supply, cables, and the monitor.
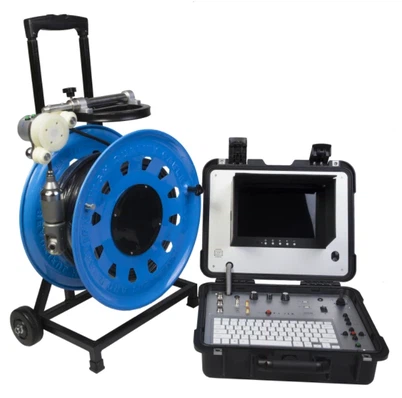
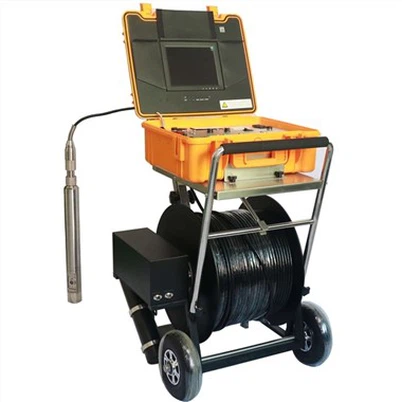
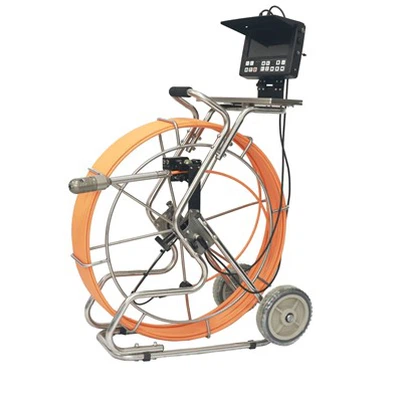
I always make sure to check the physical condition of the camera. Look for any visible damage to the cable, the camera head, or the control unit. A damaged cable can lead to signal loss, and a cracked camera head might not provide clear images. Inspect the connectors as well. Loose or corroded connectors can cause connection issues during testing.
Powering Up the Camera
Once everything is set up, it's time to power up the drain camera. Connect the power supply to the control unit and turn it on. Usually, there will be an indicator light on the control unit that shows whether it's getting power. If the light doesn't come on, check the power source and the connections.
After powering up, the monitor should display some kind of startup screen. If it doesn't, there could be a problem with the connection between the camera and the monitor. Double - check the cables and make sure they are properly plugged in.
Image Quality Testing
One of the most important aspects of a drain camera is the image quality. To test this, I like to start by placing the camera in a well - lit area. This allows me to see how clear the images are right from the start. Check for any blurriness, distortion, or color inaccuracies.
Move the camera around a bit to see how it responds. The camera should be able to capture sharp images even when it's in motion. If the images become blurry when the camera moves, it might be a sign of a problem with the camera's stabilization or the image processing software.
I also test the camera's ability to adjust to different lighting conditions. For example, if you're going to use the camera in a dark drain, it should be able to provide clear images with its built - in lights. Try covering the camera with a dark cloth to simulate a low - light environment and see how well it performs.
Cable and Movement Testing
The cable of the drain camera is another critical component. It needs to be flexible enough to navigate through the pipes, but also strong enough to withstand the rigors of use. To test the cable, slowly feed it into the drain or pipeline. Make sure it moves smoothly without getting stuck or kinked.
Check the camera's movement control. Most drain cameras have a joystick or some other control mechanism to move the camera head up, down, left, and right. Test these controls to make sure they work properly. The camera should respond accurately to your commands.
Depth and Distance Measurement
Many drain cameras come with a depth and distance measurement feature. To test this, mark a known distance on the cable. Then, feed the camera into the pipe and check if the measurement on the monitor matches the actual distance. This helps ensure the accuracy of the measurement system.
Compatibility Testing
If the drain camera is supposed to work with specific software or other devices, it's important to test the compatibility. Try connecting the camera to different monitors or computers to see if it works without any issues. Also, check if the camera's data can be transferred to other devices for further analysis.
Long - term Testing
For a more comprehensive test, I like to run the drain camera for an extended period. This helps identify any potential issues that might not show up during a short - term test. Leave the camera running in the pipe for a few hours and monitor its performance. Check for any signs of overheating, signal loss, or other problems.
Real - world Testing
Finally, it's important to test the drain camera in a real - world scenario. This could be an actual sewage pipeline or a water well. This gives us a better understanding of how the camera will perform in its intended environment.
If you're interested in our drain cameras, you might also be interested in our other products. Check out our Industrial Sewage Pipeline Inspection camera, which is designed for heavy - duty industrial pipeline inspections. We also have LED Underwater Fishing Light for fishing enthusiasts, and the 360 Degree Water Well Inspection Camera for water well inspections.
If you're thinking about purchasing our drain cameras or any of our other products, feel free to reach out to us for a detailed discussion. We're always happy to help you find the right product for your needs.
References
- Industry standards for drain camera testing
- Manufacturer's guidelines for drain camera operation and testing